Making Apple Cider – A Family Tradition
[This post contains affiliate links. Please read our full privacy policy here.]
There could be no fall without apples. Certainly not for me. Between apple cider donuts, the anticipation of baking an apple pie and the golden delicious ambiance of being at an orchard….sigh. It’s an element of fall that just makes it the perfect season.
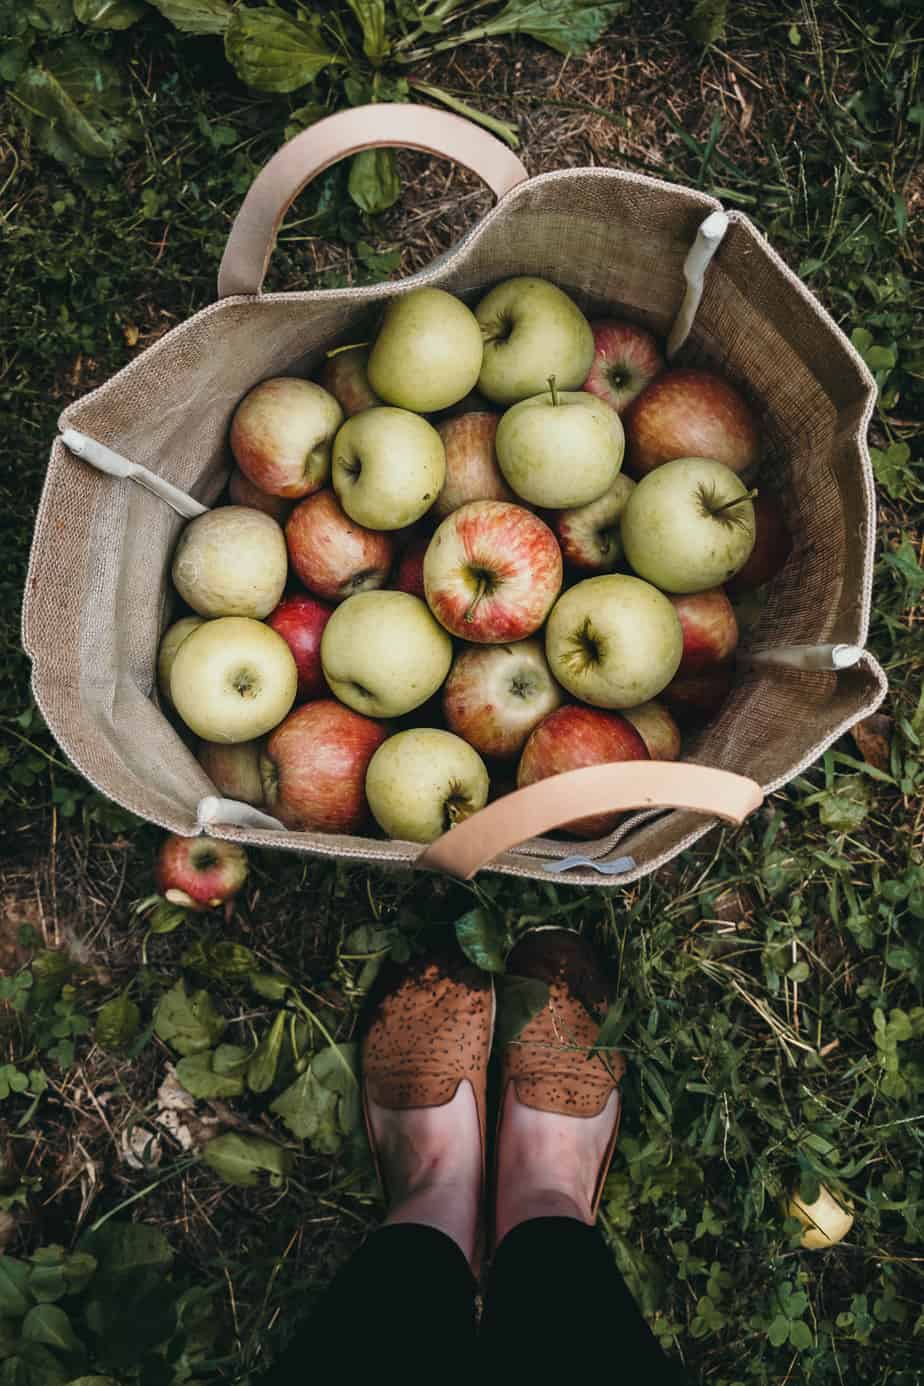
Our trip to the orchard this year ended in about 40 pounds of apples coming home with us. Seems a bit excessive, but you’ll soon see how it was put to use. It’s the same orchard we went to last year, exactly the Saturday before Ronan was born (and of course I’d know that like the sentimental sap that I am). I can’t tell you where this year went exactly, but between just loving fall and being back in the same spot with my 1 year old, let’s just say I was feeling all the feels being back there.
Perhaps the feels can be attributed to the fact that it was the first somewhat cool, somewhat fall-ish day we’d had in September. There was no better way to start the day than to promptly buy apple cider donuts when we arrived. We scarfed down a few before heading to the orchard and picking away we went. A little munchkin kept taking bites out of every single one I’d let him have without any reservations. I can’t blame him. They’re red and delicious. And funny enough, Red Delicious they were.
After we’d filled our tote and taken photos to my heart’s content, we hauled it all back to the car. We then ate a few more donuts and wandered the farm next door to show Ronan the goats and chicken and bunnies all wandering about. It was then off to home to turn the delicious lovelies into some fresh apple cider.
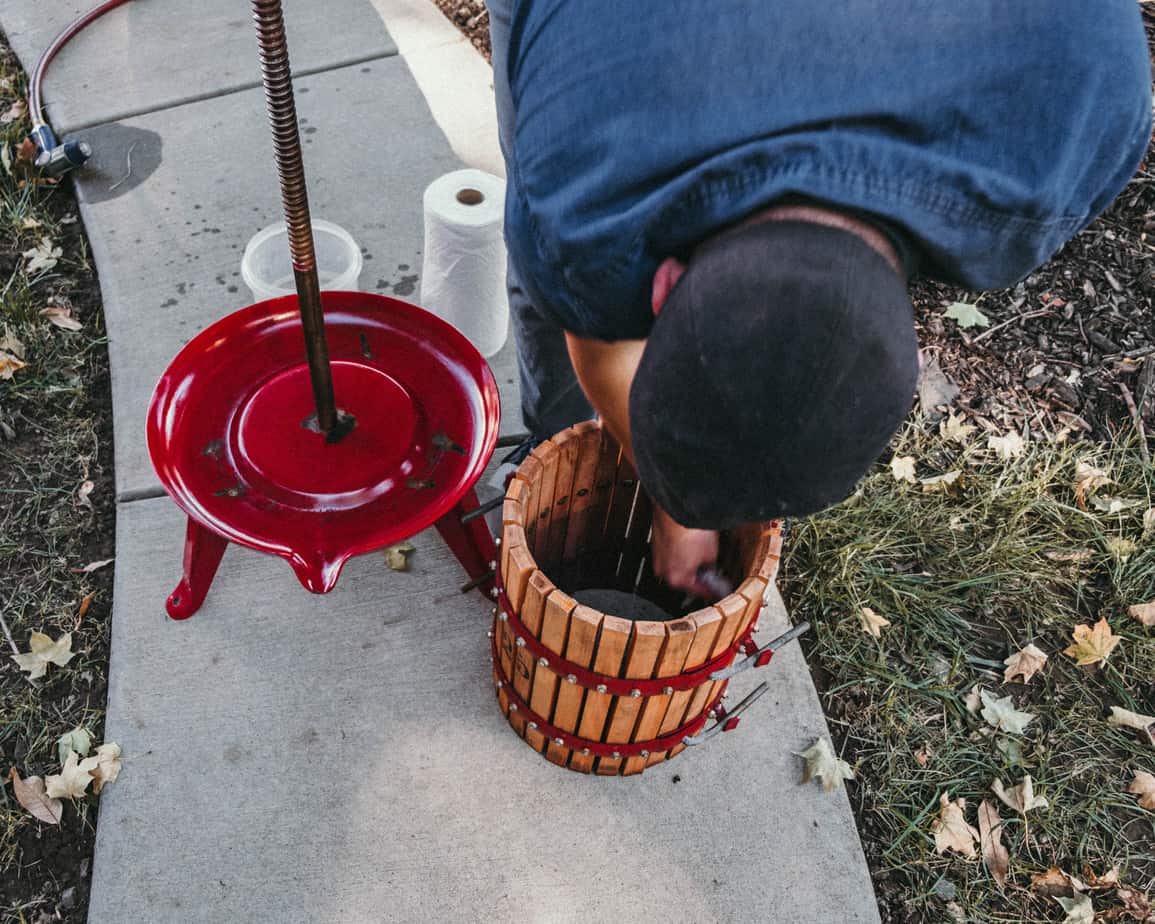
First things first, we cleaned the apple cider press. Just a bit of soap, water and vinegar to do the trick. We’d acquired the press last year after Michael visited a local wine shop where they sell one each year. Ours was around $250. Apple cider presses range from a starting price of around $60 up to well past $1,000. The $200-$400 range seems to be most common. Craigslist is also a good place to search if you’re in the market for one.
- Water, soap and a bit of vinegar to clean the press.
- Cleaned and reassembled.
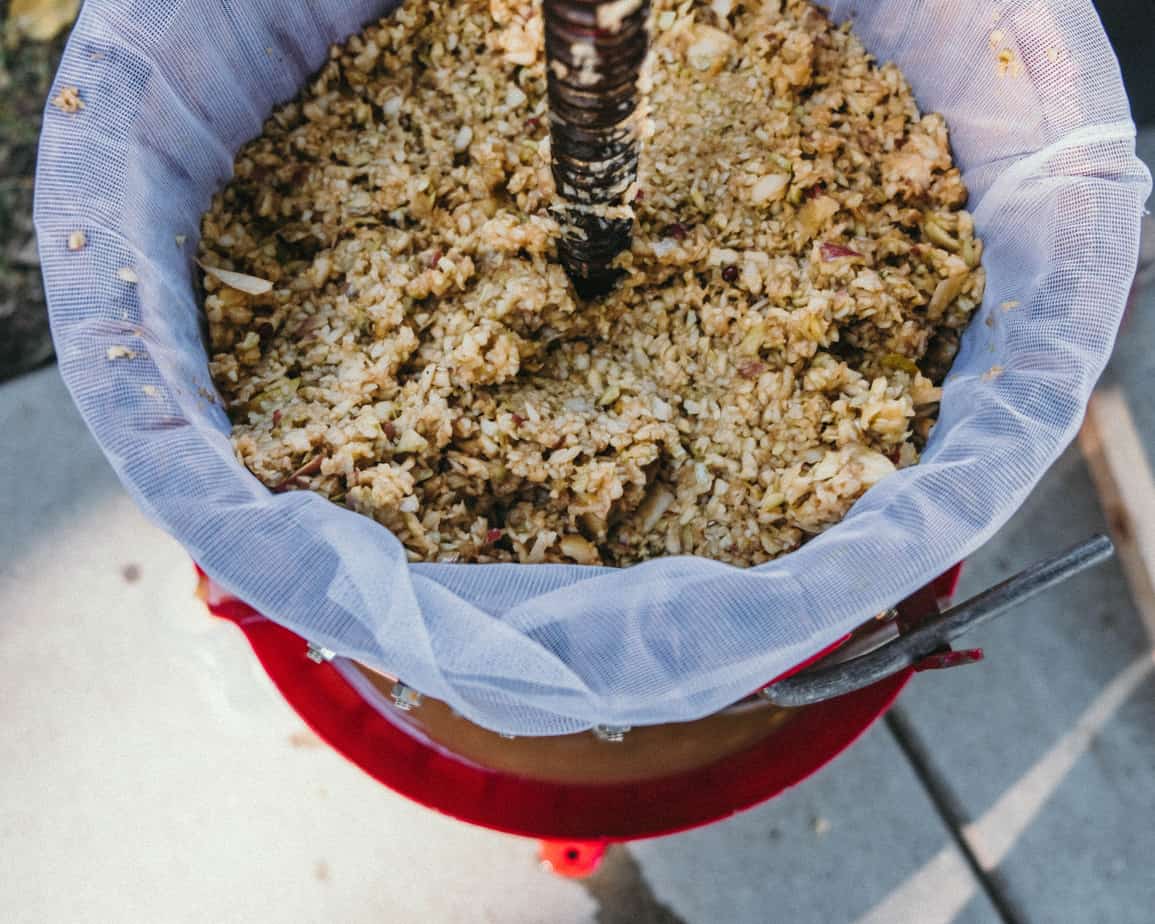
We then placed a mesh liner on the inside of the press, to catch all the apple bits and allow the cider to strain through. After that, we set to work, cutting up the apples and pureeing them in a food processor until they were a chunky, mush-like consistency (delicious mental visual…I know). The primary reason to do this being that our press is simply using gravity and a slight bit of force to squeeze the apples. The more we can do to reduce the pressure on the press to actually extract the cider, the better. I’ll add a friendly warning that this part is what took the longest. A good dose of patience and time may very well be needed.
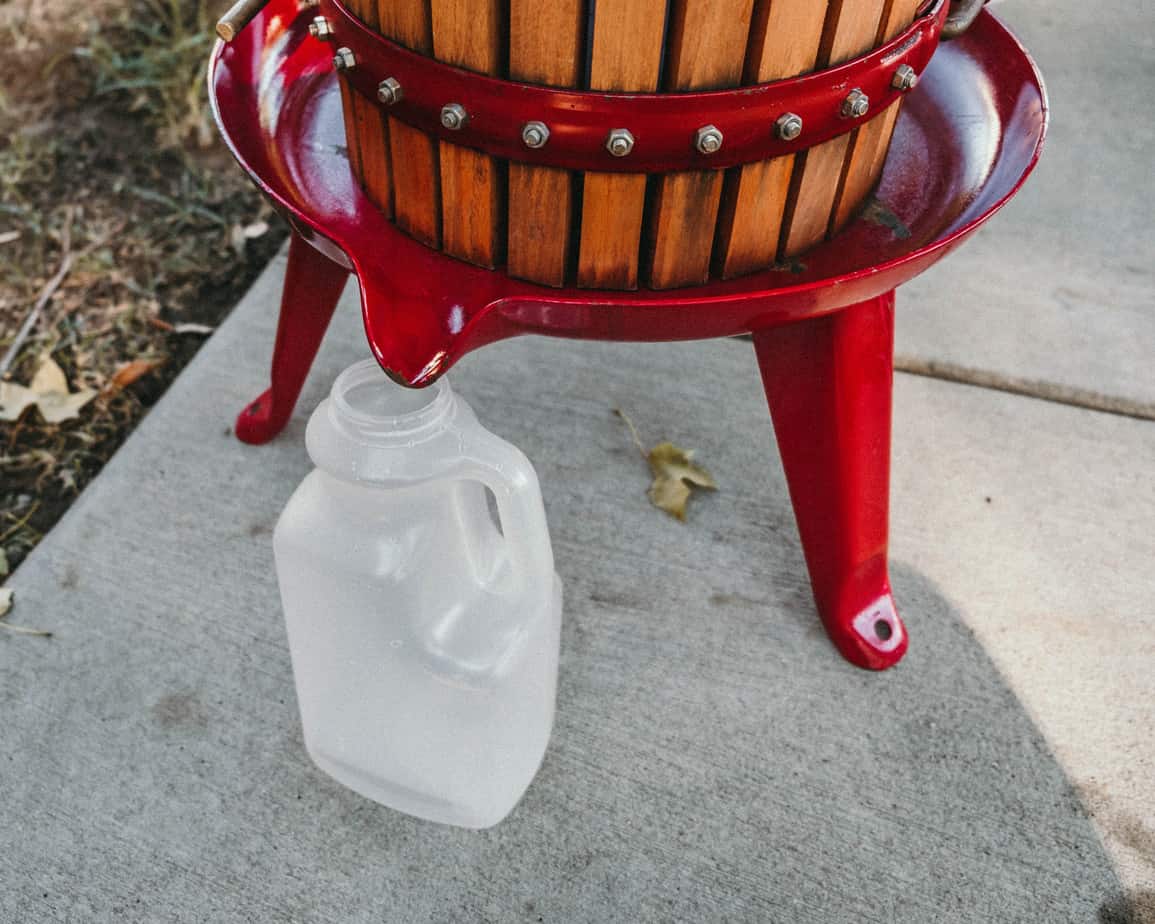
- Setting up the jug to be filled with cider.
- Ready to be pressed.
Once we got our apple “mush” ready to go, it’s was off to the press. Let’s pause here and discuss quantity. We used roughly 30 lbs of apples. That sounds like a lot but equates to roughly a large toteful. After cutting them up and pureeing them, it reduced to 3 dutch oven-fulls (we literally filled our dutch oven so I’m making that an official measurement). Before dumping the apples into the press, we placed our jug under the spout. Then in went the apples.

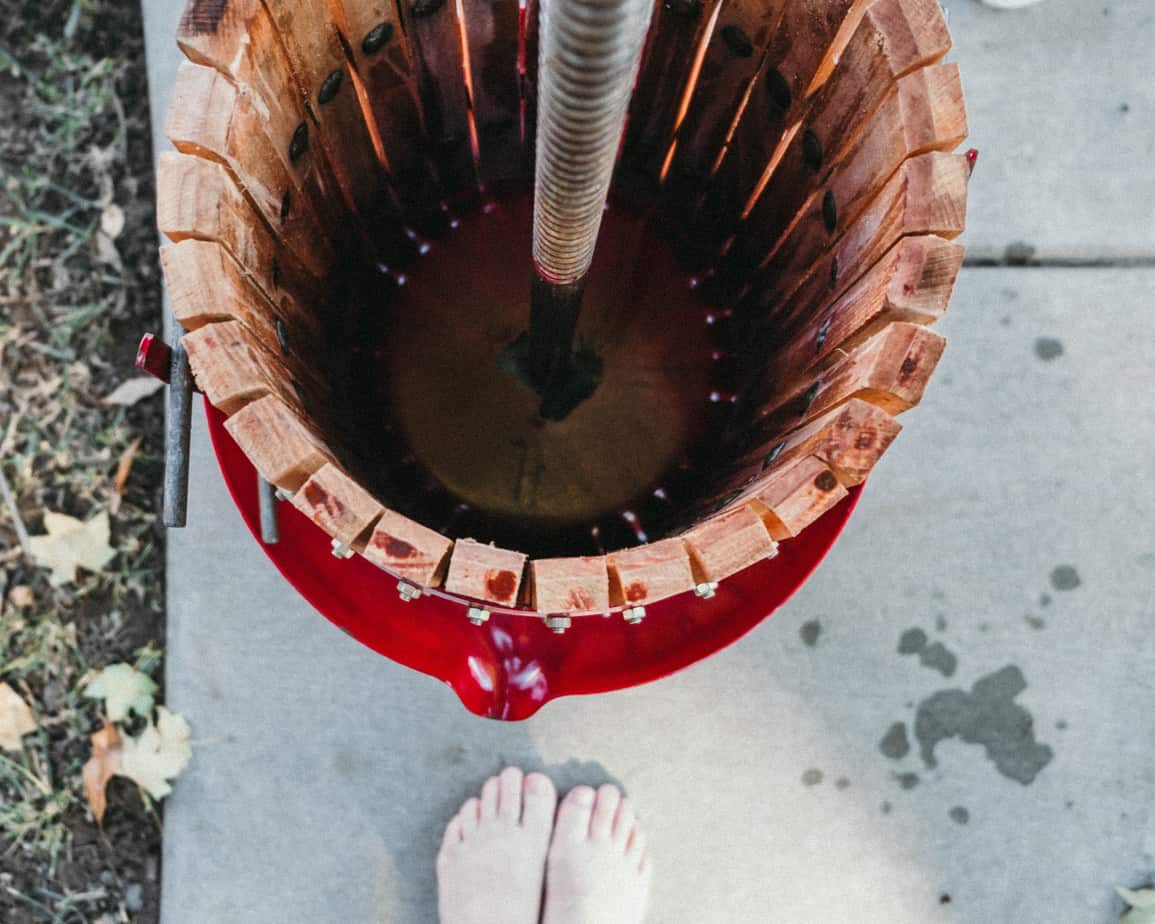
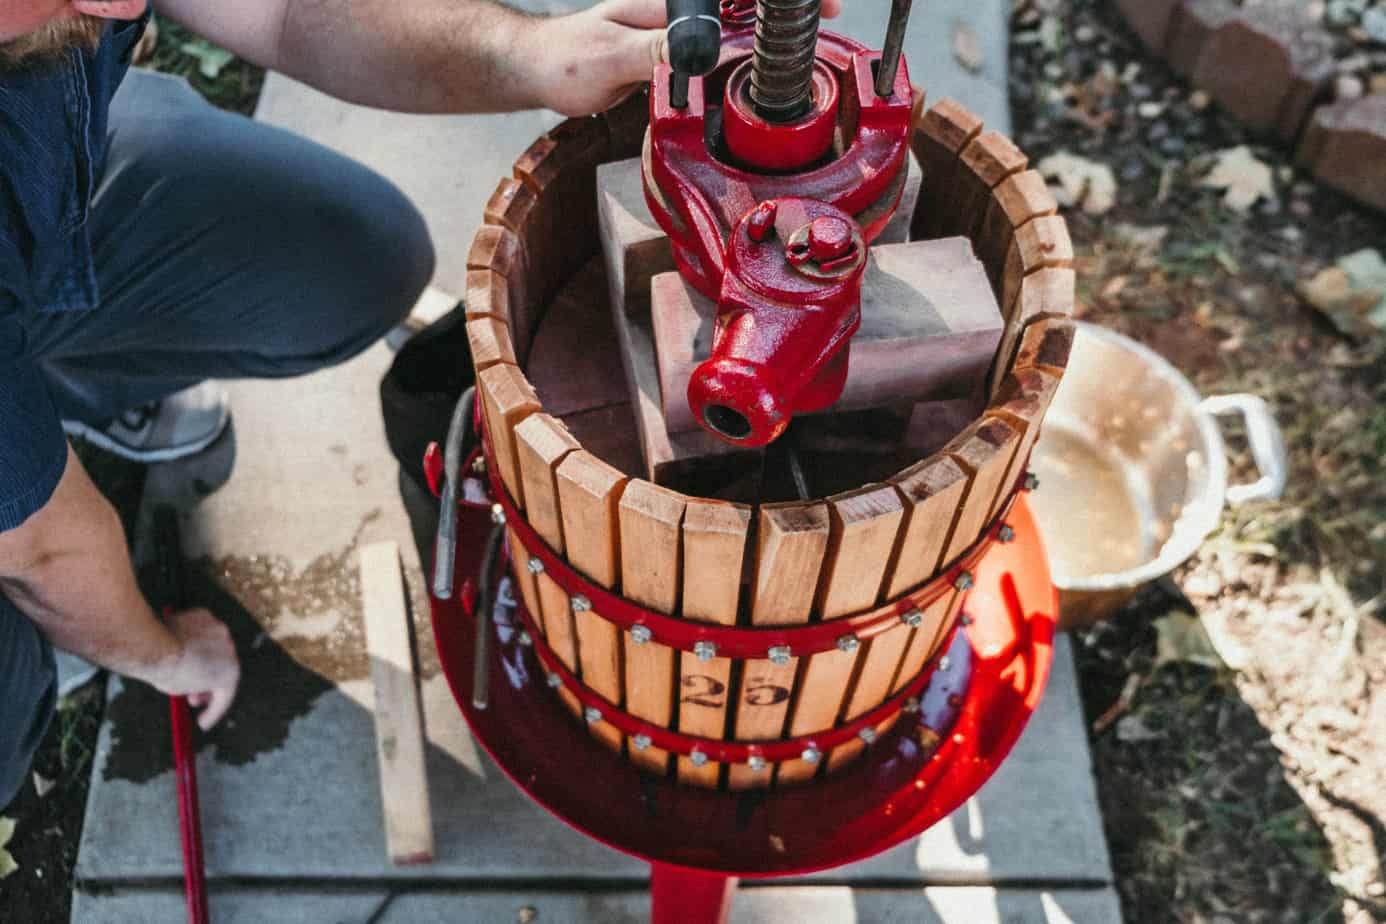
Once the apples were happily in their new container, the cider began pouring out without us even pressing them. We went to work attempting to attach the pressing piece. Here we ran into a snag as we quickly realized we were missing two small pieces that enable us to keep the turning piece in place and allow the pole to do the “heavy lifting” in terms of pressing the apples.
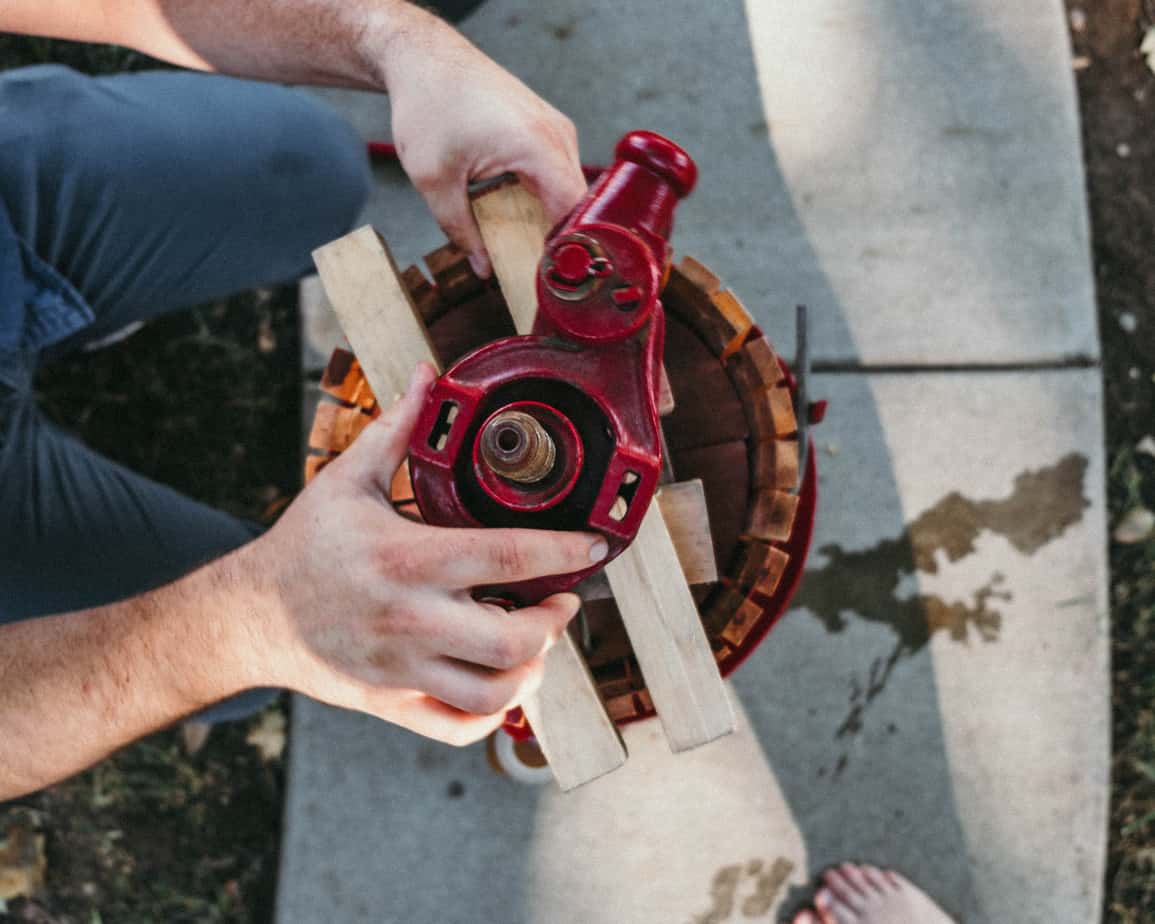
Michael attempted a few makeshift efforts, but none that worked. We ultimately turned the upper piece by hand. While it took a bit longer, it still worked well.
- Troubleshooting the missing pieces.
- Eventually we turned this piece by hand.
In less than 15 minutes, we had 3 half gallons of cider. Watching it pour into the jug in it’s earthy, caramel-toned goodness was quite therapeutic. And just like that, we were done. We cleaned the press up once more and put the cider in the fridge (and some in the freezer too!).
If you are like me and somehow thought this whole process should be much more complicated, don’t fret. It really isn’t. You may also be thinking, ok I did all that but isn’t this essentially just apple juice? The answer is yes and no. Being rather nerdy and obsessive when I have a question, I did a bit of research, and it seems that this varies by location and treatment. In general, apple juice has been through some type of filtration process whereas cider may have a few chunks and be more “earthy” overall. The tastes can vary slightly as well – apple juice typically having a sweeter, cleaner taste while apple cider is more robust and earthy (see full article here).
Additionally, you can purchase apple cider pasteurized or unpasteurized. Where we live, we’ve discovered most places will typically pasteurize their apple cider, meaning they heat it to a certain temperature before bottling and selling to reduce harmful bacteria. This boils down (pun intended) to personal preference. We’ve always preferred unpasteurized apple cider as we feel pasteurizing slightly alters it’s natural, more earthy taste.
While it should be labeled, you can also tell the difference by the “clarity” of the cider – unpasteurized cider will look “cloudy” and pasteurized more clear. If hearing the terms “bacteria” and “unpasteurized” are making you nervous, it may help to think of it this way. Going to a juice bar for a fresh juice is the equivalent to drinking unpasteurized apple cider. But regardless, I encourage you to do your own research and make your own conclusions.
While this was our first attempt, we’re happy with how our apple cider turned out, and we fully plan for this to become a family tradition. Making something from scratch is so satisfying. Knowing, seeing and understanding the beauty in not just the result, but the process as a whole, makes it feel all the more special and “whole” in a way. We long for more of these moments and work towards simplifying our own lives to make more time for them. But for now, making apple cider – well, it’s been such a sweet and simple start.
I’ve saved a video recap of the whole process over on my Instagram page so feel free to head over there to check it out. If you’re interested in what you need to get started, below is a resource list of products.
- Apple Cider Press (18-Liter) – This is one that’s the most similar to ours.
- Apple Cider Press (3-Liter) – Here’s one that’s smaller and under $100. I also like that it’s entirely stainless steel.
- Mesh Bag – For lining your press. This one is machine washable so you can reuse it.
- Half Gallon Jugs – I like the half gallon size so you can freeze some as well. I much prefer using glass to plastic to store liquids. We happened to have the plastic ones on hand, but I’m planning to purchase some like this for next time.
- Apple Corer/Divider – This would have made chopping them all up so much easier!





Adelaide
This is so interesting thank you for sharing that ! And also your pictures are so beautiful 🙂
Bekah
Thank you so much, Adelaide! I love when photos and hobbies come together. I so appreciate you carving out time to read and comment!